Save
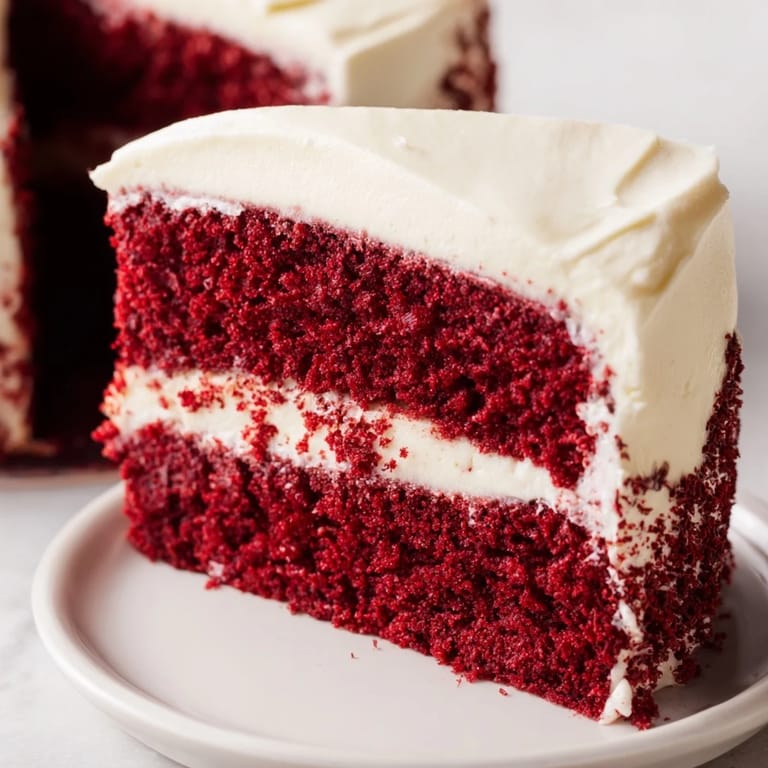
Save My grandmother kept a faded recipe card in her kitchen drawer, stained with drops of red food coloring from decades of birthday cakes. She swore the secret was in the vinegar and buttermilk reaction, something about chemistry making the crumb tender. I didn't understand it then, standing on a step stool to watch her cream cheese frosting turn snowy white. Now every time I see that unmistakable crimson slice, I'm back in her kitchen.
The first time I made this for my sister's wedding shower, I accidentally doubled the red food coloring and ended up with a cake so vibrant it looked like something from a cartoon. Everyone couldn't stop taking pictures, and the bride declared it her new favorite thing I'd ever baked. Sometimes mistakes become traditions.
Ingredients
- All-purpose flour: The structure that holds everything together, so don't skip the sifting step
- Unsweetened cocoa powder: Just enough for depth without overpowering the delicate flavor
- Baking soda: Reacts with the buttermilk and vinegar for that signature tender rise
- Salt: Enhances all the flavors and balances the sweetness
- Granulated sugar: Sweetens and helps create that velvety texture we love
- Unsalted butter: Must be softened to room temperature for proper creaming
- Large eggs: Room temperature eggs incorporate better into the batter
- Buttermilk: The secret ingredient for tenderness and subtle tang
- Vanilla extract: Use pure extract for the best flavor
- White vinegar: Works with the baking soda for extra lift
- Red food coloring: Gel coloring gives deeper red with less liquid
- Vegetable oil: Keeps the cake moist and tender
- Cream cheese: Fully softened is non-negotiable for smooth frosting
- Powdered sugar: Sifting prevents lumps in your frosting
Tired of Takeout? 🥡
Get 10 meals you can make faster than delivery arrives. Seriously.
One email. No spam. Unsubscribe anytime.
Instructions
- Preheat and prep your pans:
- Get your oven to 350°F and thoroughly grease and flour two 9-inch round pans, tapping out any excess flour so the cakes release beautifully later.
- Whisk together the dry ingredients:
- Sift the flour, cocoa powder, baking soda, and salt into a medium bowl, giving them a quick whisk to ensure everything is evenly distributed.
- Cream the butter and sugar:
- Beat the sugar and softened butter until the mixture is pale and fluffy, about 3 minutes, then add eggs one at a time until fully incorporated.
- Add the wet ingredients:
- Mix in the oil, vanilla, and vinegar until combined, then whisk the buttermilk and food coloring together in a separate small bowl.
- Combine everything carefully:
- Add the dry ingredients to the butter mixture in three parts, alternating with the buttermilk mixture, mixing until just combined.
- Bake until perfect:
- Divide the batter evenly between your prepared pans and bake for 28 to 30 minutes, until a toothpick inserted in the center comes out clean.
- Cool completely:
- Let the cakes rest in their pans for 10 minutes, then turn them out onto wire racks to cool completely before frosting.
- Make the frosting:
- Beat the softened cream cheese and butter until smooth and creamy, then gradually add the powdered sugar, vanilla, and salt until fluffy.
- Frost like a pro:
- Spread a layer of frosting between the cooled cake layers, then frost the top and sides.
 Save
Save My aunt Jean still talks about the red velvet cake I brought to Christmas dinner three years ago. She said it reminded her of the bakery cakes her mother would buy as special treats when she was growing up in Atlanta. Food connects us like that.
Getting The Right Color
I've learned that liquid food coloring can throw off the liquid ratios in your batter, so gel coloring is worth the extra trip to the baking aisle. Start with less than you think you need, because the color deepens during baking. You can always add more, but you can't take it back.
Frosting Success Secrets
After years of ending up with grainy frosting, I discovered that both the cream cheese and butter must be truly softened, not just slightly mushy. Leave them out for a full hour before you start. Also, sifting the powdered sugar might seem tedious, but it's the difference between silky smooth frosting and one with tiny lumps that never quite beat out.
Serving And Storage Wisdom
This cake actually tastes better the next day, giving the flavors time to meld and the crumb to settle into that signature velvet texture. I like to bake it the day before a party, frost it, and let it chill overnight in the refrigerator. Bring it to room temperature for about an hour before serving for the best texture and flavor.
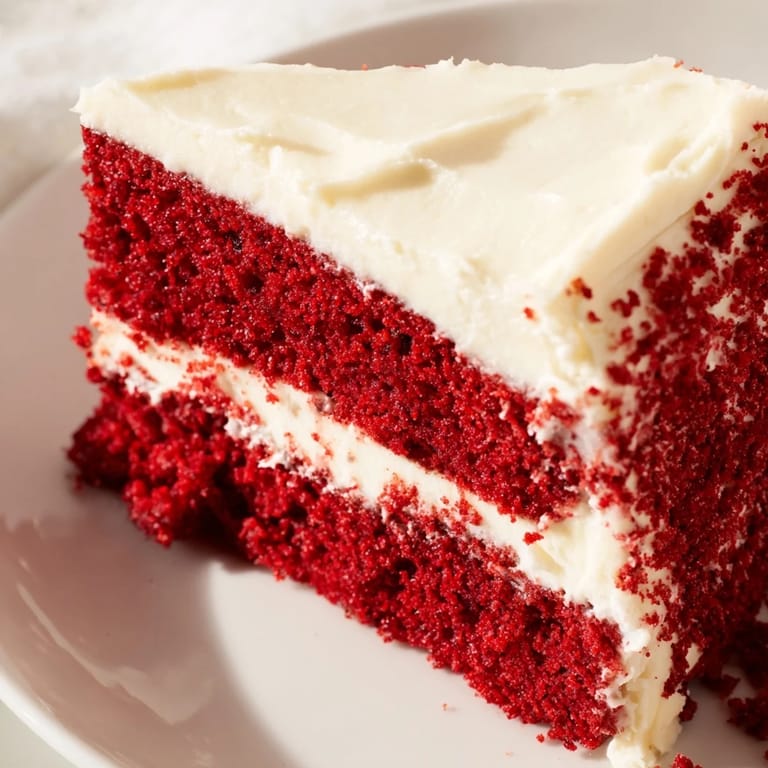
- Use a warm knife to get clean slices that show off those beautiful layers
- The cream cheese frosting means this needs to stay refrigerated
- A light dusting of cocoa powder on top adds sophistication
 Save
Save There's something about that slice of red and white that makes people pause before taking a bite, and the first taste never disappoints. That's the magic worth preserving.
Recipe Questions & Answers
- → What gives red velvet its distinct flavor?
The combination of buttermilk and vinegar creates a subtle tanginess that pairs beautifully with the mild cocoa flavor. This unique balance, along with the velvety texture from oil and butter, gives red velvet its signature taste profile that's different from standard chocolate cakes.
- → Can I make red velvet cake ahead of time?
Yes, the cake layers can be baked up to 2 days in advance. Wrap them tightly in plastic wrap and store at room temperature. The frosted cake keeps beautifully in the refrigerator for up to 5 days. Bring to room temperature before serving for the best texture and flavor.
- → Why is my red velvet cake not red enough?
Traditional red velvet relies on the reaction between acidic ingredients and cocoa for a subtle reddish hue. For that vibrant crimson color most expect, use high-quality gel food coloring rather than liquid. Gel provides more concentrated color without adding excess liquid to the batter.
- → What's the best way to frost red velvet cake?
Always ensure the cake layers are completely cool before frosting to prevent melting. Apply a thin crumb coat first, then chill for 15-20 minutes before adding the final layer of cream cheese frosting. This technique ensures a smooth, professional-looking finish with minimal crumbs showing through.
- → Can I substitute ingredients in red velvet cake?
Buttermilk is essential for the signature tang and texture, though you can make a substitute by mixing 1 cup milk with 1 tablespoon vinegar. The cocoa powder should not be replaced with regular flour as it provides both color and flavor. For the frosting, full-fat cream cheese and butter yield the best stability and flavor.
- → How do I know when red velvet cake is done baking?
Insert a toothpick into the center of the cake—it should come out clean or with just a few moist crumbs. The edges should slightly pull away from the pan, and the top should spring back when gently touched. Overbaking can dry out this naturally moist cake, so start checking at the 25-minute mark.